
Install
brew install terraformService Account
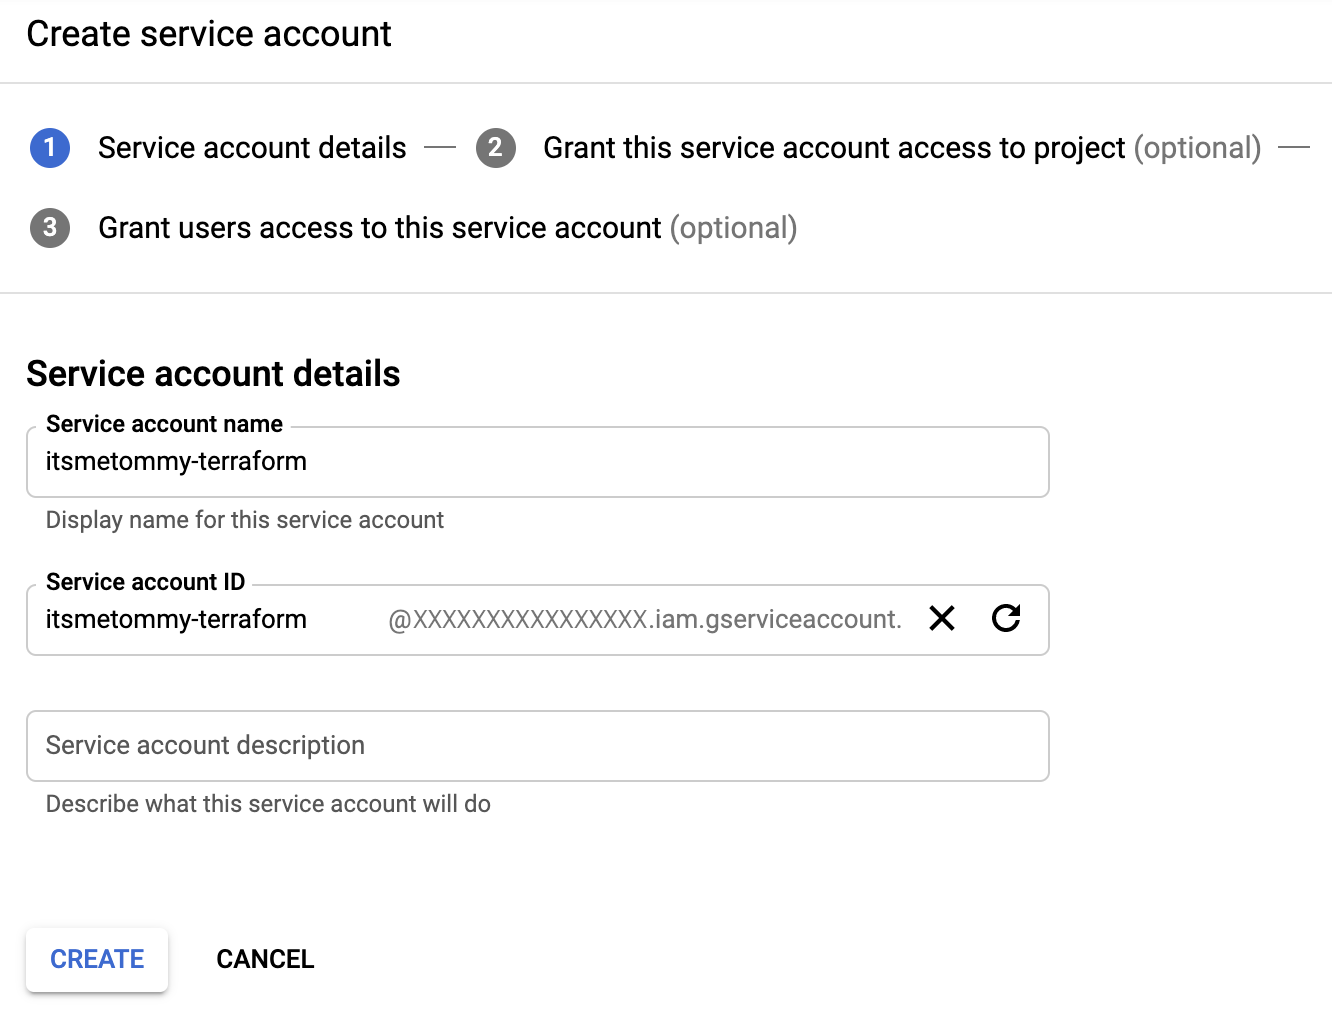
IAM & admin > Service accounts, and click + CREATE SERVICE ACCOUNT.
I gave the role Project > Editor for the simplicity of this demo, but feel free to lock it down.
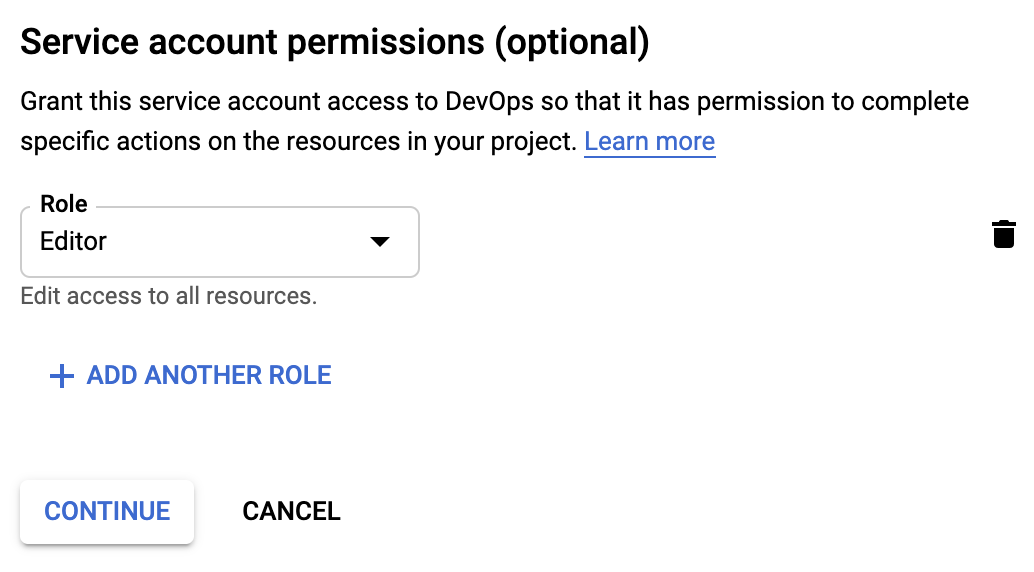
Click CONTINUE.
OR if you are only creating a GKE cluster, you can simply assign the roles Kubernetes > Kubernetes Engine Admin and Storage > Storage Admin.
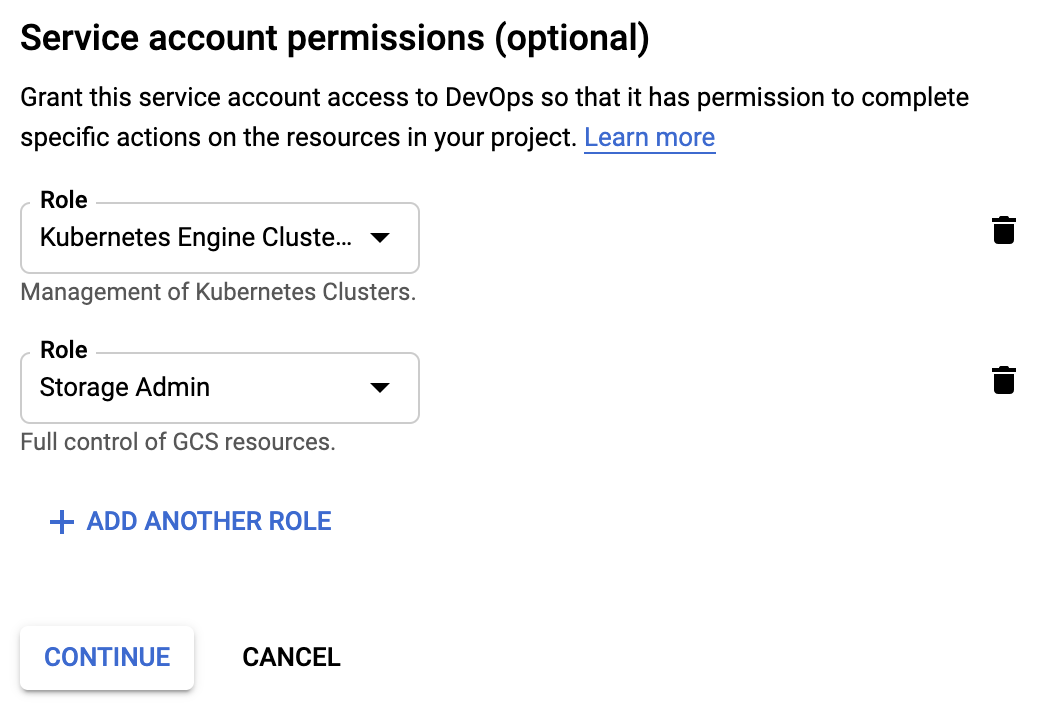
Click CONTINUE.
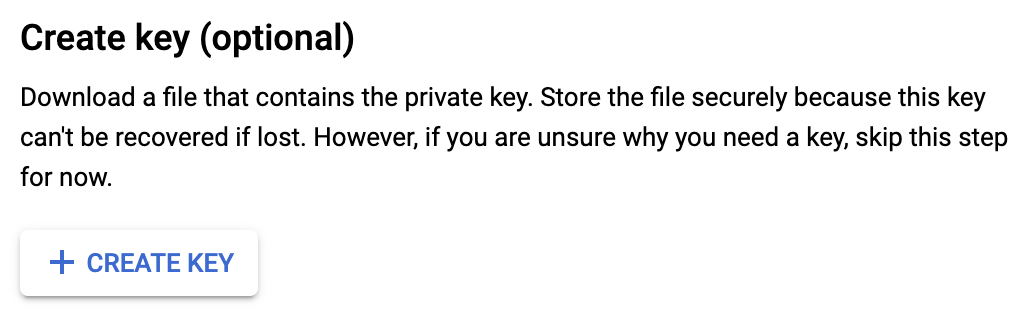
Click CREATE KEY.
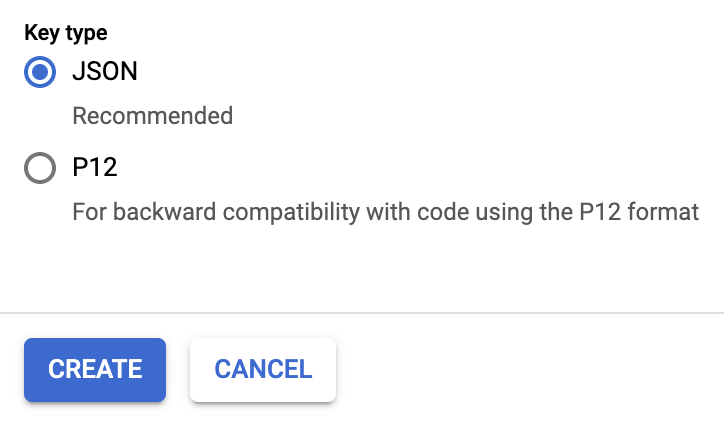
Select JSON and click CREATE. This will download your key directly to your computer, which we will use later.
Click CREATE.
Create Directories
I’m creating three directories. One for credentials, one for my network, and one for my GKE cluster.
{
  mkdir -p terraform-itsmetommy/credentials
  mkdir terraform-itsmetommy/network
  mkdir terraform-itsmetommy/gkecluster
  cd terraform-itsmetommy
}
Move JSON key to credentials directory
Move the downloaded JSON file to the credentials directory and rename it to account.json.
mv <YOUR_SERVICE_ACCOUNT_KEY>.json credentials/account.json.gitignore
Just in case you plan on using Git, create a .gitignore file in your root directory. Better safe than sorry.
cat <<EOF > .gitignore
credentials/*
.terraform/*
EOF
Network
Let’s first create the network, which includes the VPC and subnet.
cd into the network directory.
cd networkCreate a provider inside the network directory. Notice that the credentials file points to the the above credentials directory.
Make sure to update YOUR_PROJECT_ID.
vi provider.tf
provider "google" {
  credentials = "${file("../credentials/account.json")}"
  project     = "YOUR_PROJECT_ID"
  region      = "us-west1"
}
Initialize the local environment by running terraform init.
terraform initLet’s create the VPC and a couple subnets.
vi network.tf
resource "google_compute_network" "itsmetommy-network" {
  name                    = "itsmetommy"
  auto_create_subnetworks = "false"
}

resource "google_compute_subnetwork" "itsmetommy-subnetwork-subnet1" {
  name                     = "itsmetommy-subnet1"
  ip_cidr_range            = "10.0.0.0/24"
  network                  = "${google_compute_network.itsmetommy-network.self_link}"
  region                   = "us-west1"
  private_ip_google_access = true
}

resource "google_compute_subnetwork" "itsmetommy-subnetwork-subnet2" {
  name                     = "itsmetommy-subnet2"
  ip_cidr_range            = "10.1.0.0/24"
  network                  = "${google_compute_network.itsmetommy-network.self_link}"
  region                   = "us-west1"
  private_ip_google_access = true
}
Plan and apply.
terraform plan -out terraform.tfplan
terraform apply "terraform.tfplan"
Cluster
cd into the gkecluster directory.
cd gkeclusterCreate a provider. Again, notice that the credentials file points to the the above credentials directory.
Make sure to update YOUR_PROJECT_ID.
vi provider.tf
provider "google" {
  credentials = "${file("../credentials/account.json")}"
  project     = "YOUR_PROJECT_ID"
  region      = "us-west1"
}
Initialize the local environment by running terraform init.
terraform initCreate the GKE cluster.
vi gkecluster.tf
resource "google_container_cluster" "itsmetommy-cluster" {
  name                     = "itsmetommy"
  network                  = "itsmetommy"
  subnetwork               = "itsmetommy-subnet1"
  location                 = "us-west1" # creates 1 node per zone
  # We can't create a cluster with no node pool defined, but we want to only use
  # separately managed node pools. So we create the smallest possible default
  # node pool and immediately delete it.
  remove_default_node_pool = true
  initial_node_count       = 1

  network_policy {
    enabled = true
  }

  maintenance_policy {
    daily_maintenance_window {
        start_time = "03:00"
    }
  }
}
Plan and apply.
terraform plan -out terraform.tfplan
terraform apply "terraform.tfplan"
Create the GKE cluster Node Pool.
- https://www.terraform.io/docs/providers/google/r/container_node_pool.html
- https://cloud.google.com/kubernetes-engine/docs/how-to/preemptible-vms
Preemptible VMs are Google Compute Engine VM instances that last a maximum of 24 hours and provide no availability guarantees. Preemptible VMs are priced lower than standard Compute Engine VMs and offer the same machine types and options.
vi nodepool-01.tf
resource "google_container_node_pool" "itsmetommy-nodepool-01" {
  name       = "itsmetommy-nodepool-01"
  location   = "us-west1-a"
  cluster    = "${google_container_cluster.itsmetommy-cluster.name}"
  node_count = 3

  node_config {
    preemptible  = true
    machine_type = "n1-standard-2"

    metadata = {
      disable-legacy-endpoints = "true"
    }

    labels = {
      team = "devops"
    }

    oauth_scopes = [
      "https://www.googleapis.com/auth/devstorage.read_only",
      "https://www.googleapis.com/auth/logging.write",
      "https://www.googleapis.com/auth/monitoring",
    ]
  }

  management {
    auto_repair  = true
    auto_upgrade = true
  }

  autoscaling {
    min_node_count = 3
    max_node_count = 6
  }

}
Plan and apply.
terraform plan -out terraform.tfplan
terraform apply "terraform.tfplan"
You can clean up by running terraform destroy within the gkecluster directory first, then from within the network directory (in that order or you will get an error due to existing resources — one of the reasons why I kept them in separate directories).
terraform destroy
One response to “Kubernetes: Create GKE Cluster with Terraform”
[…] showed you how to create a GKE cluster with Terraform in a previous post. When I went to enable Istio, it wasn’t as simple as I thought. I ended up […]