
Series
This is part of a series of JFrog blogs that will help guide you through installing their new Unified Platform.
General
https://github.com/jfrog/charts/tree/master/stable/mission-control
Add repo
helm repo add jfrog https://charts.jfrog.ioUpdate repo
helm repo updateImportant: To install Mission Control 4.x, you must first install JFrog Artifactory 7.x.
Join Key & JFrog URL
In order to install Mission Control, you will need at least one Join Key and JFrog URL from the Artifactory installation.
Go to Artifactory.
Security → Settings
Under Connection details, enter your password and click Unlock.
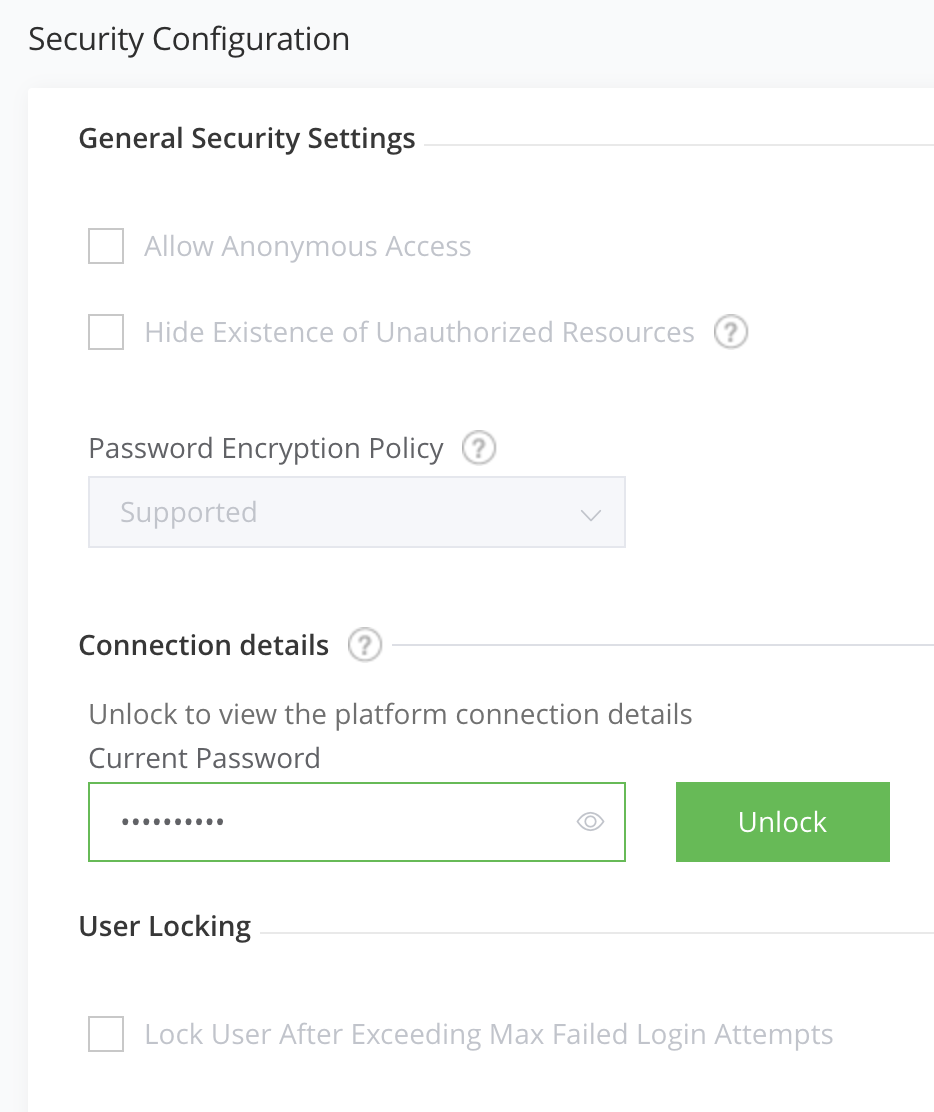
Copy the Join Key.
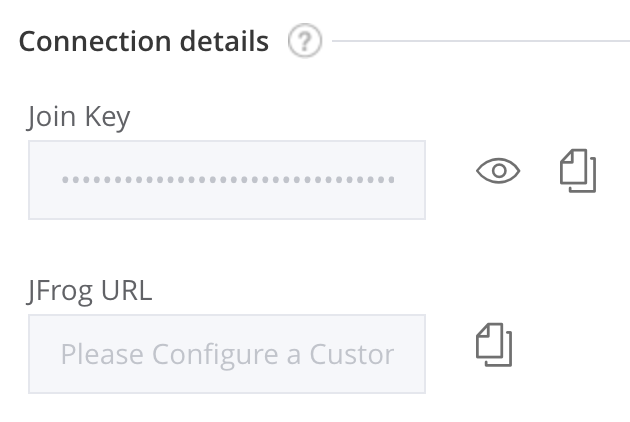
You should be using the same join key as Artifactroy HA. In my case, the secret has already been generated within the same namespace, so there is no reason for me to create another one.
Helm
--set missionControl.joinKeySecretName=artifactory-ha-join-key \
--set missionControl.jfrogUrl=https://yourdomain.com \
Google SQL
Create a Google PostgreSQL 9.6 database with a user and database named mission-control.
As of writing this post, I had to run the following against the database. This however should be ran automatically from an init container during iinstallation.
I ran the SQL commands against the database by simply creating a centos pod and installing postgresql.
Create centos pod and connect to it
kubectl run -it centos --image=centos --restart=Never --rm -- shInstall postgresql and assign variables.
yum -y install postgresql DB_HOST="[DATABASE_IP]" DB_PORT="5432"
DB_USER="mission-control"
DATABASE="mission-control"
Connect to the database.
psql -h $DB_HOST -p $DB_PORT -U $DB_USER -d $DATABASERun the following commands against the database.
CREATE SCHEMA IF NOT EXISTS jfmc_server AUTHORIZATION "mission-control";
CREATE SCHEMA IF NOT EXISTS insight_executor AUTHORIZATION "mission-control";
CREATE SCHEMA IF NOT EXISTS insight_server AUTHORIZATION "mission-control";
CREATE SCHEMA IF NOT EXISTS insight_scheduler AUTHORIZATION "mission-control";
GRANT ALL ON SCHEMA jfmc_server TO "mission-control";
GRANT ALL ON SCHEMA insight_scheduler TO "mission-control";
GRANT ALL ON SCHEMA insight_server TO "mission-control";
GRANT ALL ON SCHEMA insight_executor TO "mission-control";
Create database secret
DB_USER=mission-control
DB_PASSWORD='[DATABABASE_PASSWORD]' DB_URL='jdbc:postgresql://[DATABASE_IP]:5432/mission-control' DB_HOST=[DATABASE_IP]
DB_PORT=5432
Helm
--set postgresql.enabled=false \
--set database.user=${DB_USER} \
--set database.password=${DB_PASSWORD} \
--set database.host=${DB_HOST} \
--set database.port=${DB_PORT} \
--set database.url=${DB_URL} \
Master Key
Create Master Key
export MASTER_KEY=$(openssl rand -hex 32)Create secret
kubectl create secret generic mission-control-master-key \
  --from-literal=master-key=${MASTER_KEY} \
  -n jfrog
Replica count
Helm
--set replicaCount=2 \Resources & Limits
Add recommended resources and limits
I’m using the values-large.yaml option as the recommended resources and limits. You can choose from values-small.yaml, values-medium.yaml or values-large.yaml.
Download values-large.yaml.
wget https://raw.githubusercontent.com/jfrog/charts/master/stable/mission-control/values-large.yamlHelm
-f values-large.yamlElasticsearch
Option 1 – Use built-in elasticsearch
In this case, there is no additional options needed.
Option 2 – Use Bitnami elasticsearch
I am using an external Elasticsearch. Check out my Bitnami Elasticsearch blog to set it up.
Helm
ES_URL=http://elasticsearch-coordinating-only:9200

--set elasticsearch.enabled=false \
--set elasticsearch.url=$ES_URL \
--set elasticsearch.username=admin \
--set elasticsearch.password=admin \
Install
helm install mission-control \
  --set missionControl.joinKeySecretName=artifactory-ha-join-key \
  --set missionControl.jfrogUrl=https://yourdomain.com \
  --set postgresql.enabled=false \
  --set database.type=postgresql \
  --set database.user=mission-control \
  --set database.password=vgexCuqjKFHH9dQty \
  --set database.url=jdbc:postgresql://[DATABASE_IP]:5432/mission-control \
  --set elasticsearch.enabled=false \
  --set elasticsearch.url=${ES_URL} \
  --set elasticsearch.username=${ES_USERNAME} \
  --set elasticsearch.password=${ES_PASSWORD} \
  --set missionControl.masterKeySecretName=mission-control-master-key \
  --set replicaCount=2 \
  -f values-large.yaml \
  --version 3.4.2 \
  -n jfrog \
  jfrog/mission-control
Connect
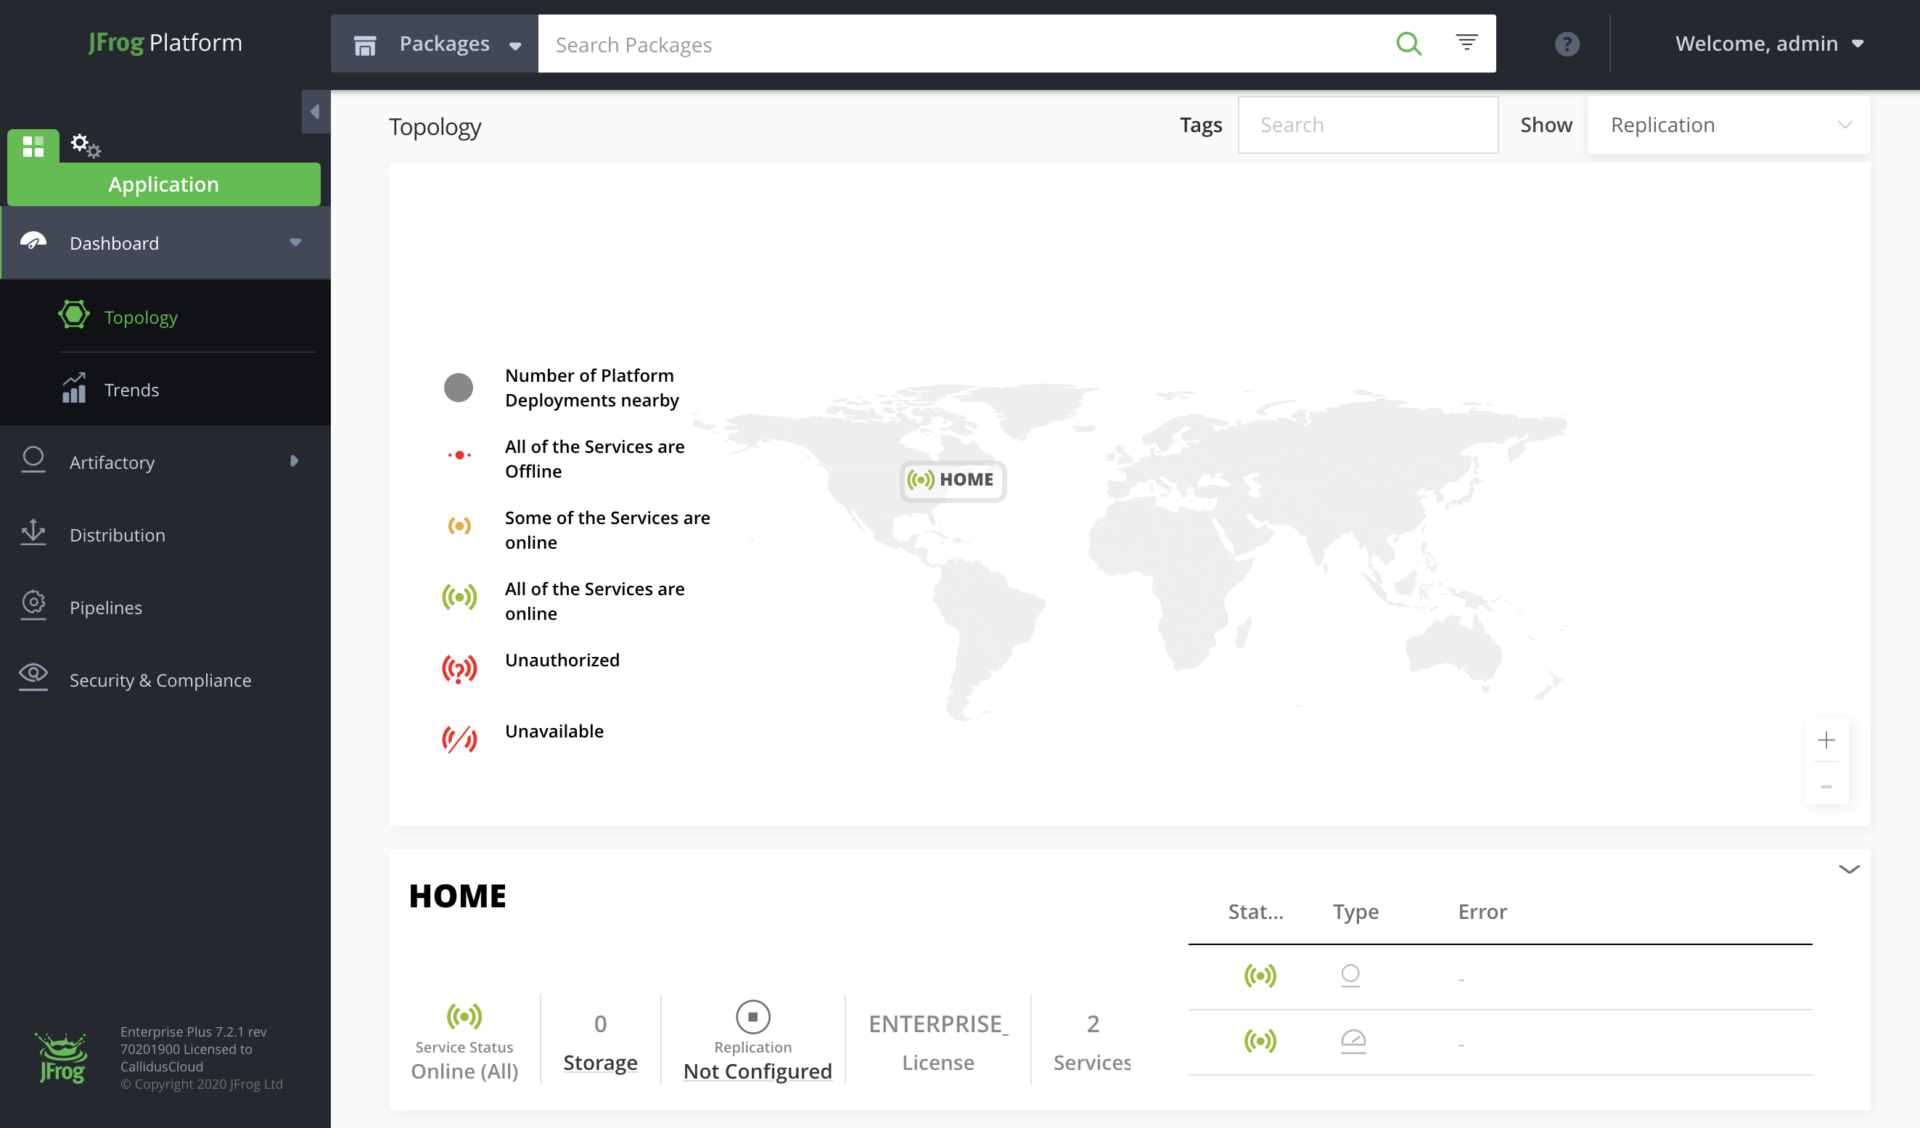
Connect to Artifactory (unified UI) using yourdomain.com and view Mission Control.
Applications → Dashboard → Topology
Bucket License
Once you’ve installed Mission Control, add your bucket licenses.
Administration → Licenses → + Add New Bucket
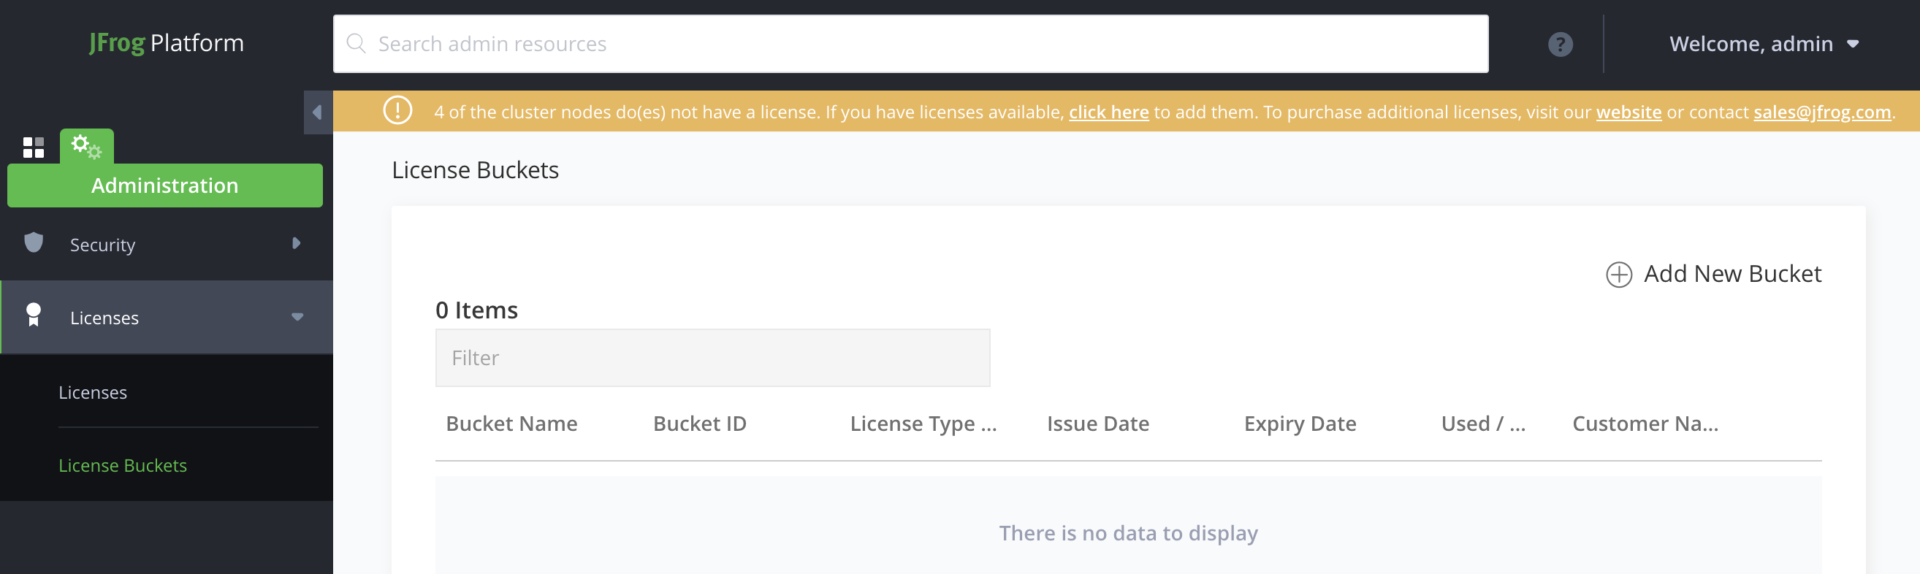
Add New Bucket and add your license, then click Attach License from the drop-down.
This will attach a license to each instance.

Uninstall
helm uninstall mission-control -n jfrog && sleep 90 && kubectl delete pvc -l app=mission-control -n jfrogDelete SQL database.
gcloud sql instances delete [INSTANCE_NAME]